How to manage sellers
4 minute read
What you’ll learn
In this article we’ll use the Operator API to manage users, specifically you’ll learn:
- Use Cases for managing sellers via the API
- Core concepts specific to sellers
- The queries and mutations you can use to create and update sellers
Use Case
Sellers are a core concept in Marketplacer, indeed without them, you would not have a marketplace. Sellers are the primary vehicle by which products are listed for sale on the marketplace, so ensuring you have a large number of high quality sellers is important to the success of your marketplace.
Having a low-friction way to onboard sellers is therefore critical, and employing an API driven approach to onboarding can aid in this, perhaps by allowing you to integrate into other systems you already operate or by building a new sign-up app to facilitate new seller registrations.
In this article we detail how you can use the Operator API to manage seller creation and updates.
Core Seller Concepts
The core concepts listed below are by no means exhaustive, but are the most crucial ideas to understand when starting out with managing sellers via the AIP.
- Sellers can be created in 2 configurations:
PROSPECTIVE: A Seller entity is created in Marketplacer but they are limited in what they can do, e.g. they cannot list products for sale. Prospective sellers are those that have typically expressed an interest in selling on your marketplace but still have some outstanding requirements to meet before they can fully participate.RETAILER: A seller that can perform the full range of seller operations, including the ability to create and ultimately sell products on the marketplace- You can move sellers between these states using the API
- Sellers will have 1 primary user account attached to them, but secondary users can be created
API Prerequisites
Before we launch into the API examples, there are some points of note before we begin:
- You will require an Operator API Key to create sellers
- Example code is provided in this article, but it is also available in the Operator API Collections
Creating Sellers
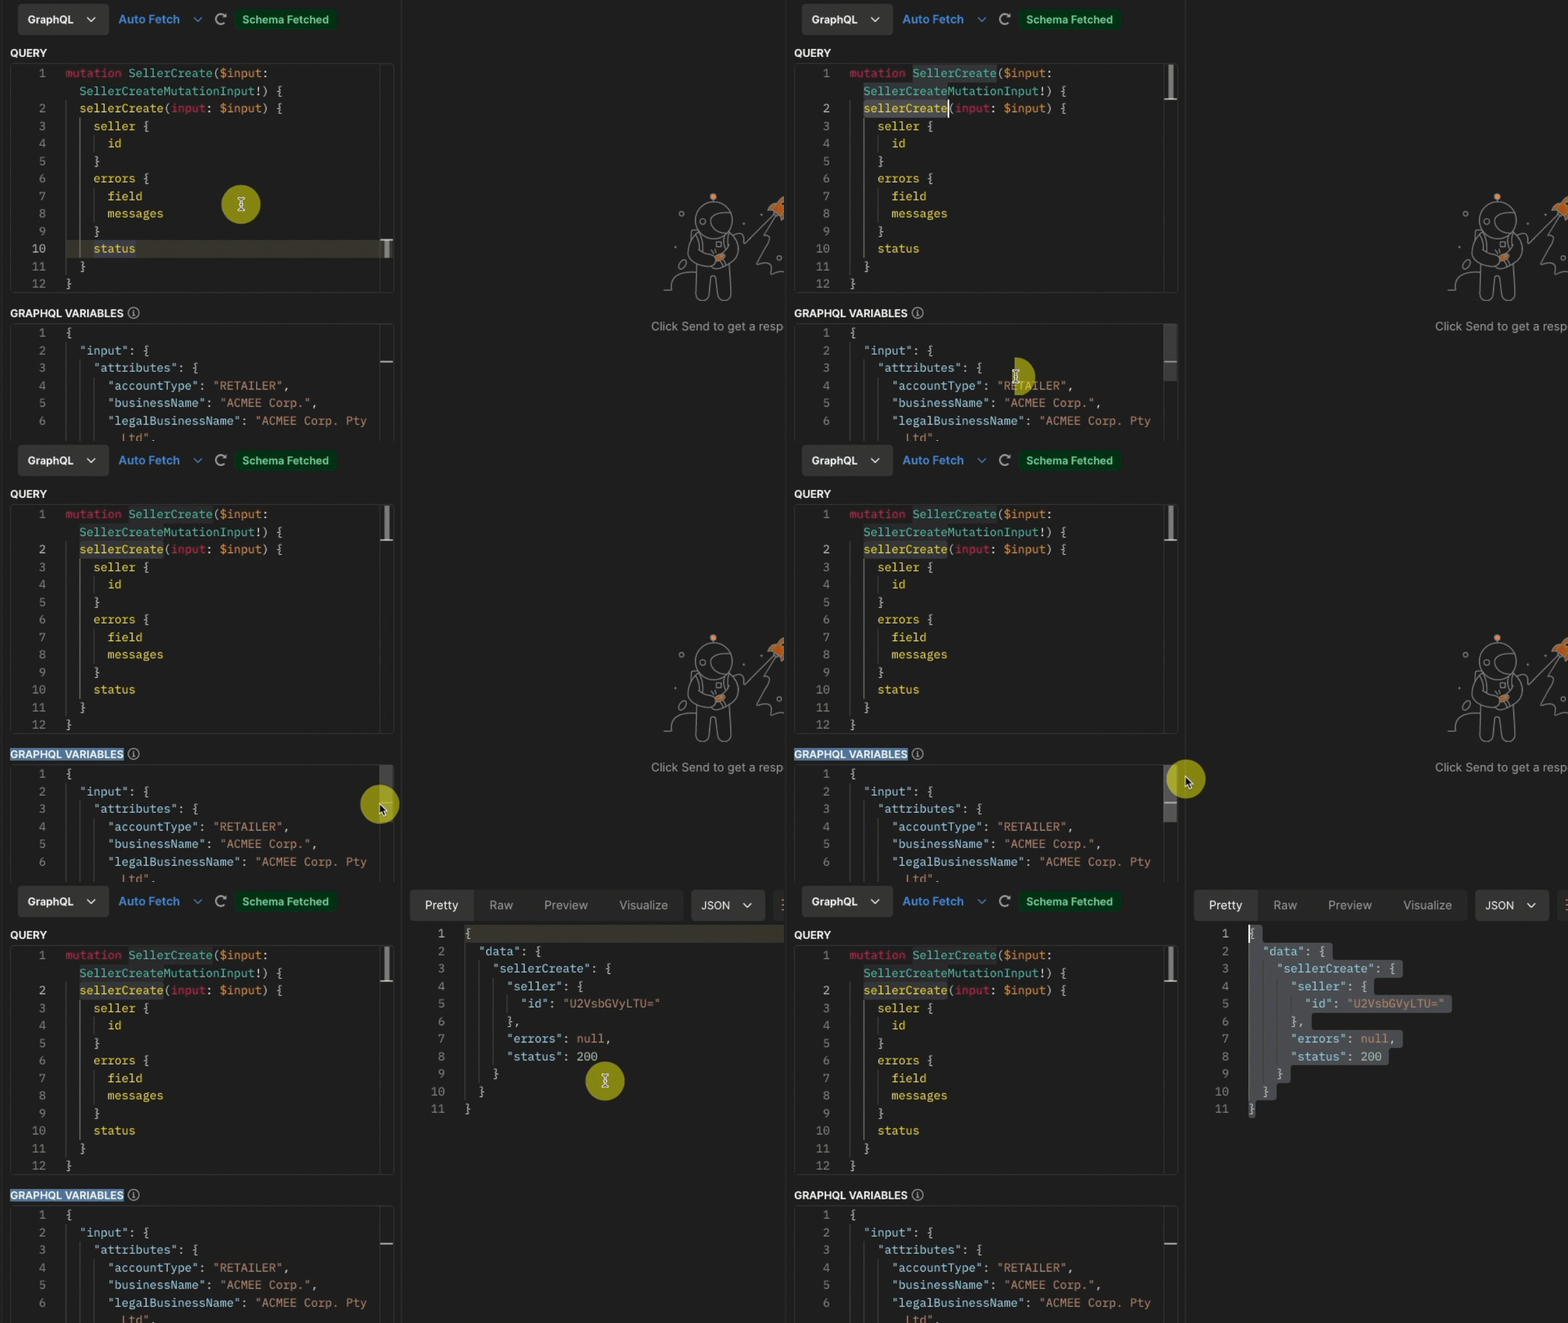
The sellerCreate mutation is used to create sellers, an example is given below:
mutation SellerCreate($input: SellerCreateMutationInput!) {
 sellerCreate(input: $input) {
  seller {
   id
  }
  errors {
   field
   messages
  }
  status
 }
}
We pass in the following variable set to create a Seller, (for the full list of attributes that you can supply to sellerCreate please refer to the reference docs.)
SellerCreate Variables
{
  "input": {
    "attributes": {
      "accountType": "RETAILER",
      "businessName": "ACMEE Corp.",
      "legalBusinessName": "ACMEE Corp. Pty Ltd",
      "apiEnabled": true,
      "advertVettingRequired": true,
      "customRemittanceDelay": 10,
      "commissionPackageId": "Q29tbWlzc2lvblBhY2thZ2UtMg==",
      "metadata": [
        {
          "key": "BusinessFoundedIn",
          "value": "1998"
        }
      ],
      "emailCc": "john.doe76@email.com",
      "phone": "0405555666",
      "address": {
        "address": "146 Buckhurst Street",
        "country": {
          "code": "AU"
        },
        "postcode": "3000",
        "state": {
          "name": "Victoria"
        }
      },
      "user": {
        "firstName": "John",
        "surname": "Doe",
        "emailAddress": "john.doe76@email.com"
      }
    }
  }
}
Running this will give us the following:
{
  "data": {
    "sellerCreate": {
      "seller": {
        "id": "U2VsbGVyLTU="
      },
      "errors": null,
      "status": 200
    }
  }
}

We now have a Seller Account created with 1 user on your Marketplacer instance.
Commission Package Ids
In the above example we have provided a commissionPackageId, points to note about commission packages:
- Unless the Commission Packages feature is enabled, you won’t be able to pass this value
- Commission Packages can be turned on in the Operator Portal under Finance Settings
- You can retrieve a list of valid commission packages by using the
commissionPackagesquery - The latest version of the Commission Package is assigned to the seller if multiple versions exist
Updating Sellers
Updating sellers may be necessary from time to time, e.g.:
- Moving from
PROSPECTIVEtoRETAILER - Allowing the seller to create and use their own shipping rules
- Add more metadata to the Seller
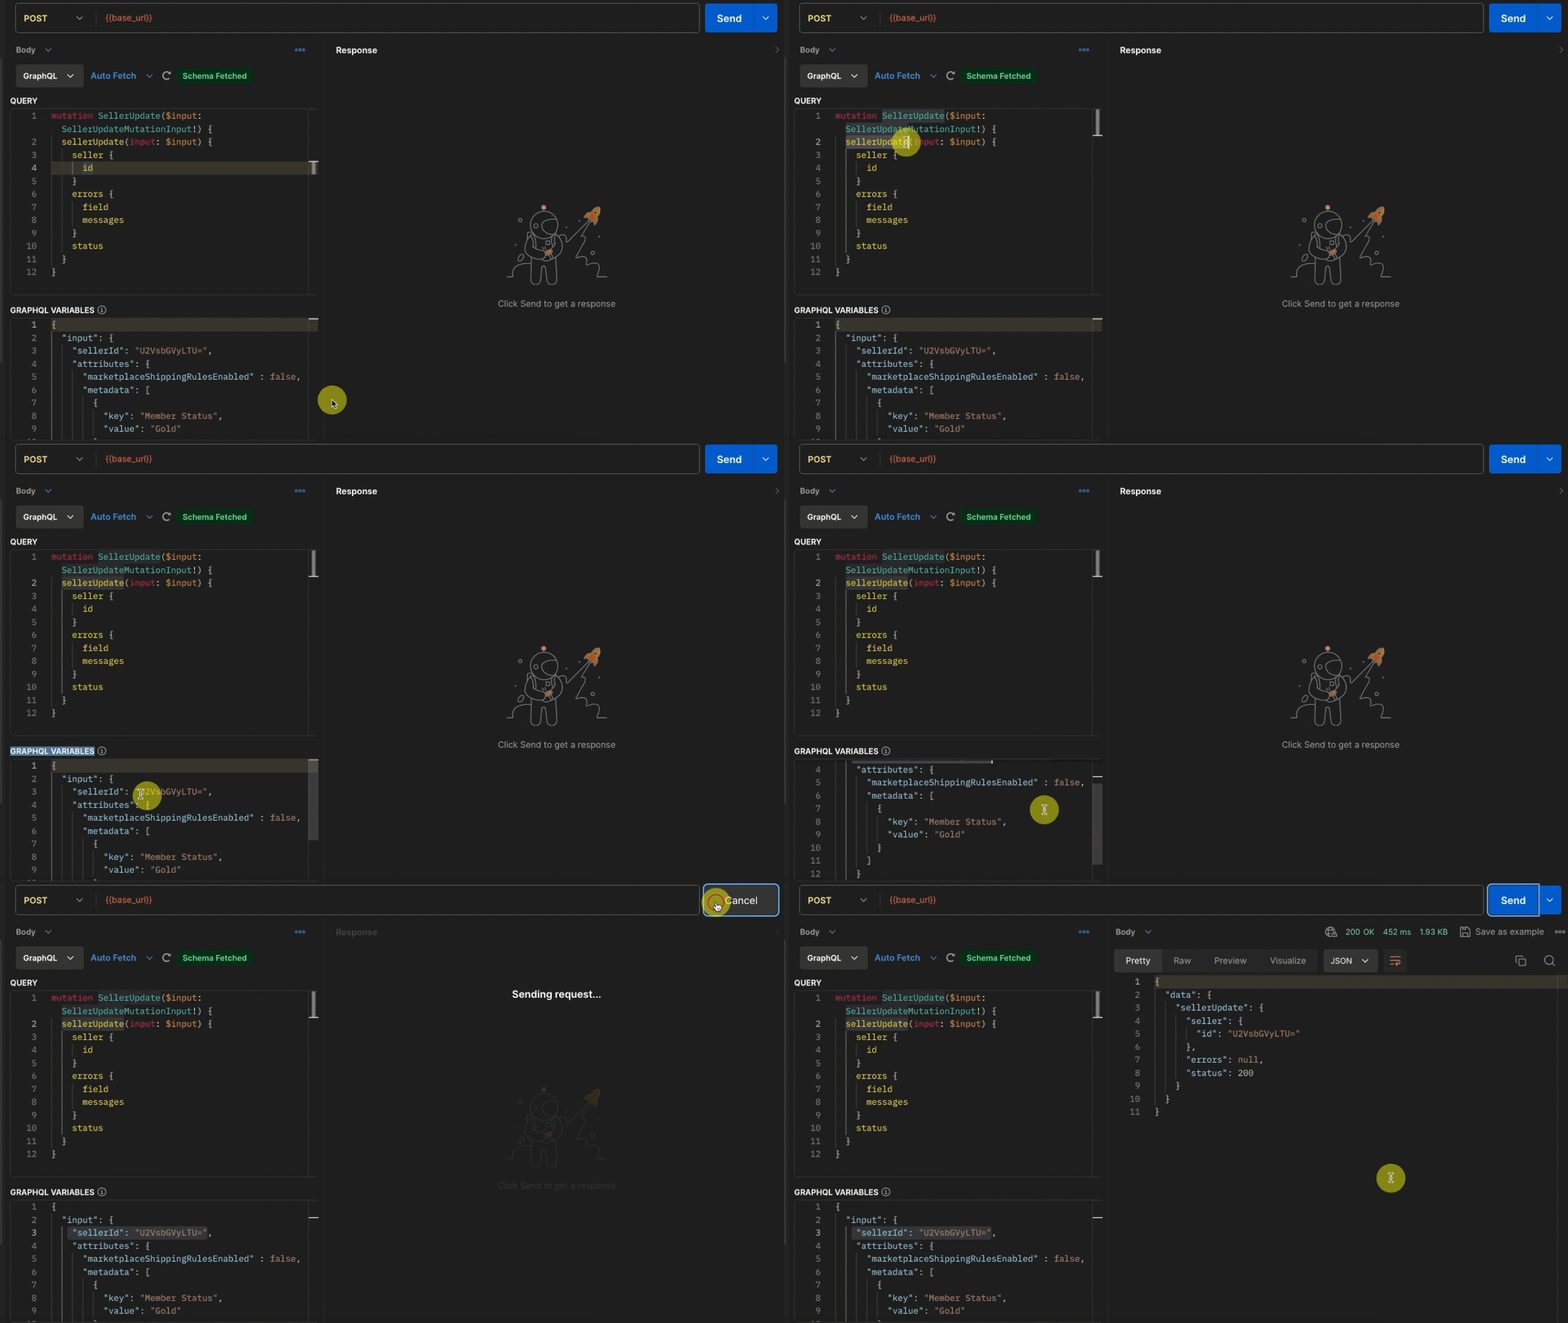
In order to update a seller we’ll use the sellerUpdate mutation, an example of this is shown below where want to allow this Seller to use their own shipping rules and add more metadata:
mutation SellerUpdate($input: SellerUpdateMutationInput!) {
	sellerUpdate(input: $input) {
		seller {
			id
		}
		errors {
			field
			messages
		}
		status
	}
}
We pass in the following variable set to create a Seller, (for the full list of attributes that you can supply to sellerUpdate please refer to the reference docs.)
NOTE: We need to supply a valid seller ID for the seller we want to update. In this case we’re using the
idfrom the previous mutation. If you want to get a full list of sellers and theiridsyou can query for this information.
SellerUpdate Variables
{
  "input": {
    "sellerId": "U2VsbGVyLTY2MDEzNg==",
    "attributes": {
      "marketplaceShippingRulesEnabled" : false,
      "metadata": [
        {
          "key": "Member Status",
          "value": "Gold"
        }
      ]
    }
  }
}
Running this will give us the following:
{
  "data": {
    "sellerUpdate": {
      "seller": {
        "id": "U2VsbGVyLTU="
      },
      "errors": null,
      "status": 200
    }
  }
}
